Ever wished you could run Linux or another operating system on your laptop? Well, Oracle’s VirtualBox may be the answer.
In simple terms, VirtualBox is software that allows you to run multiple operating systems such as Linux, Windows, etc. on your laptop or desktop in addition to your existing operating system, all at the same time.
VritualBox is different from other popular hypervisors such as VMWare that can be directly installed on x86 based computers. VirtualBox requires a host operating system such as Windows or Linux already installed on the computer for it to run.
However, VirtualBox allows great flexibility by allowing you to install multiple operating systems on top of your existing OS and running them all at the same time, sharing resources such as memory, CPU, and, hard disk.
This can come in very handy, say for example, for an Oracle DBAs, to install and configure Oracle database 12c on a Oralcle Enterprise Linux (OEL) 6.x or 7.x, on their laptop or desktop, without having to wipe out the existing operating system. In addition, Oracle Corporation, for example, provides pre-built VirtualBox images for many purposes such as developer VM images, Linux VM image, etc.
In this example, I will walk you through the steps to install VirtualBox on a laptop running Windows 8.1 64-BIT OS. The laptop we will be installing VirtualBox on has 8GB memory and Intel i7 processor. If you are installing VirtualBox so you can play around with Oracle 12c or Oracle 11g database running on OEL, you will need a laptop or desktop with at least 8GB memory for it to be relatively useful.
To begin with, we have to download the appropriate build of VirtualBox based on your existing OS. The software can be downloaded from the following url.
https://virtualbox.org/wiki/Downloads
Since I am running 64BIT Windows 8.1 OS, I downloaded the file named VirtualBox-4.3.28-100309-Win.exe by choosing “VirtualBox 4.3.28 for Windows hosts”. At this time, the current version of VirtualBox is 4.3.28. Please ensure you are downloading the latest version available as there are more features and bug fixes added with newer versions. In addition, it is advisable to install the virtual box extension pack as well. You can download the same from the same link as above. You will need to ensure you are downloading the appropriate version that matches your existing OS release.
Now that I have downloaded the file, I can run it by double clicking on the executable file.
Based on your host operating system configuration, you may receive a warning message asking to confirm you want to run the executable. Once confirmed, the installation should begin shortly.
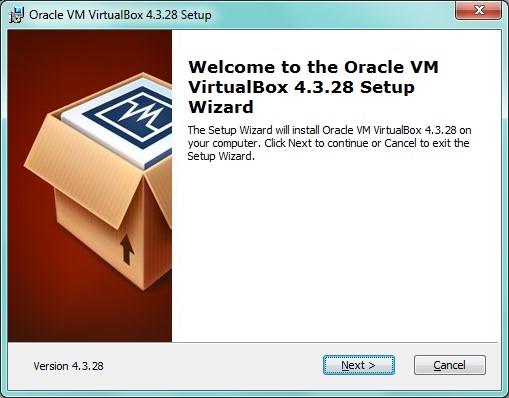
When the installation window appears, click “Next >” to continue.
If you would like to install VirtualBox on the default location, click next. If not, change the installation directory at this point.
Click “Next >”.

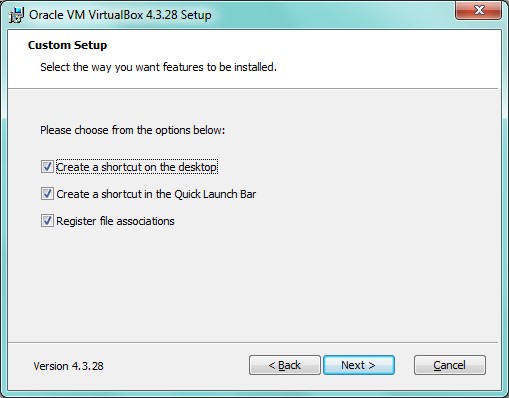
Make changes as necessary and click “Next >”.
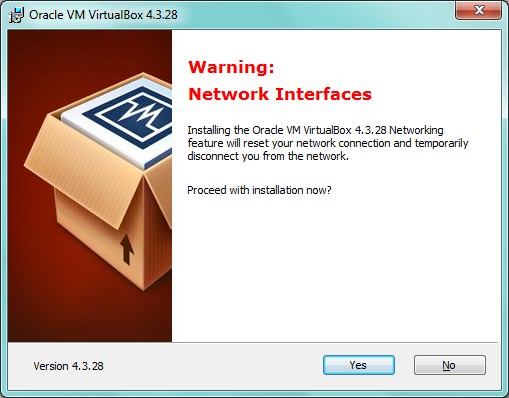
Note: If your computer is connected to a network, please pay attention as this would disrupt your network connection temporarily.
Click “Yes” to continue the Installation.
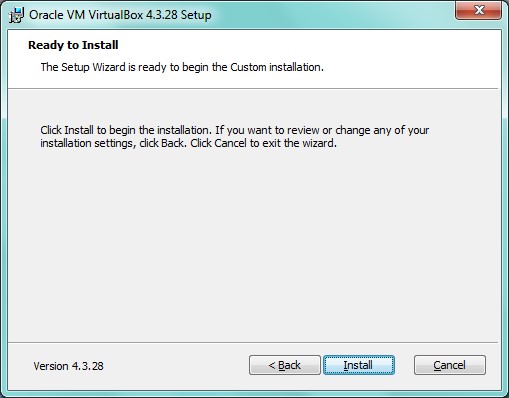
Click “Install” to begin the installation.
After a brief pause, the installation should start by displaying a progress window as shown below.

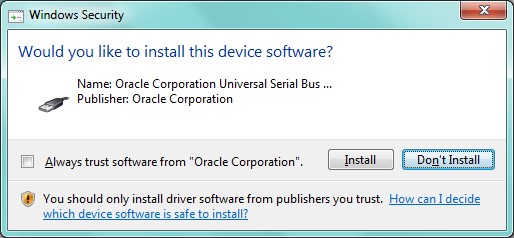
During the installation, you may receive a popup window as below. If so, make sure you check mark “Always trust software from Oracle Corporation” check box to avoid multiple such popup windows during installation.
Click on “Install” to proceed.
.
Once the installation is complete, the final popup window will be displayed. By default, the installer will automatically start VirtualBox. You may change this behavior by un-checking the option below.
Click “Finish” to conclude the installation.

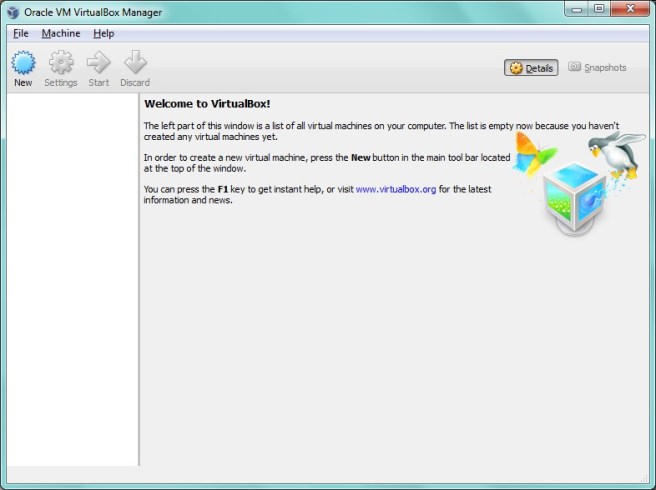
If you accepted the default setting, at this point, the VirtualBox application will automatically start, and a window as below should display.
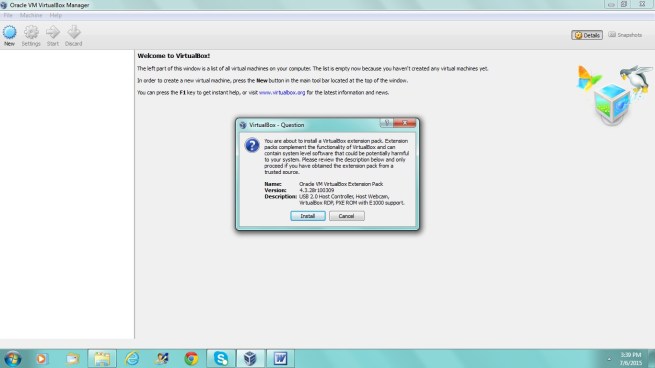
If you previously downloaded the VirtualBox Extension Pack, double click the file name (Oracle_VM_VirtualBox_Extension_Pack-4.3.28-100309.vbox-extpack in my case) to begin installation. This should bring up a window as below.
Click “Install” to continue.
Scroll down to the bottom of the terms & conditions to activate the “I Agree” button.
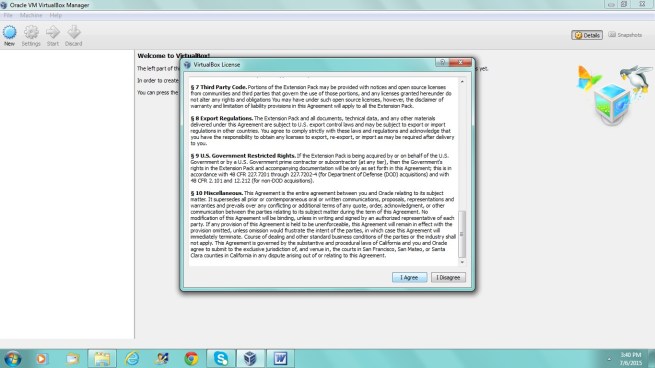
Click on “I Agree” to begin installation.
At the end of the installation you should see a screen similar to the one below. Click on “OK” to complete the installation.

Bring up the “Create Virtual Machine” dialog box by clicking “New” at the top left corner of VirtualBox manager. You may notice that even though I installed VirtualBox on 64 BIT OS, VirtualBox is showing only 32 BIT OS as options (see screenshot below).
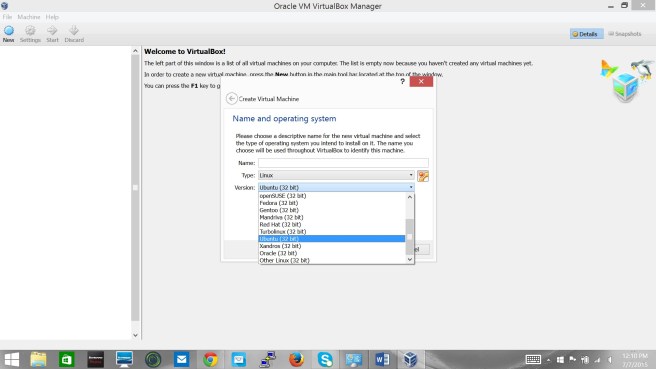
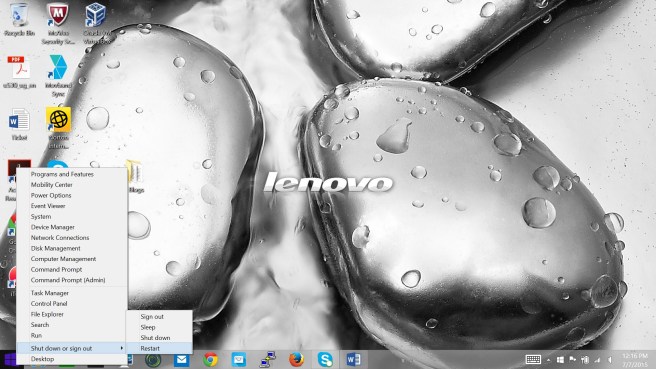
In order to fix this, I will need to change the BIOS setting on my laptop. If you are using Windows 8.1, typically, you will need to “restart” your computer instead of shuttig down in order to access your computers setup menu using F1 during startup. Rigth click on start to get to restart.
Restart your computer.
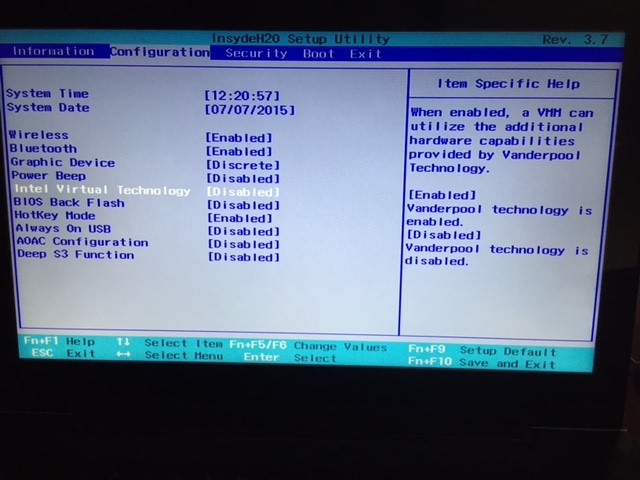
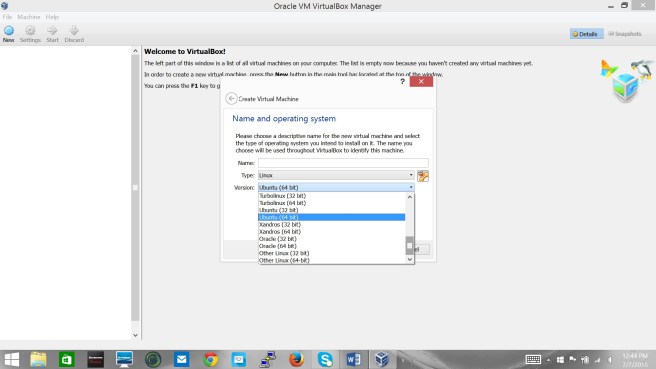
When your computer restarts, press Fn key + F2 to enter setup. Under “Configuration”, choose “Intel Virtual Technology” and enable it. Save and exit setup. Once the restart is complete we should be able to see the 64 BIT options in VirtualBox.
Please note that the setup utility and screens may be different depending on the make and model of your laptop/desktop.
Now let us confirm the options for new VMs in VirtualBox includes 64 BIT OS.
That’s it. We now have VirtualBox installed and ready to go. In my next blog, I will be providing an example of installing 64 BIT Linux OS image using VirtualBox.

Thank you for every other informative blog.
Where else may just I get that kind of information written in such a
perfect method? I have a challenge that I’m just now running on, and I have been on the glance out for such information.
LikeLike
Good to know that you liked the information provided. I am a new blogger. So I am still struggling to get formatting etc. squared away. But I will keep improving it. Please do see my latest one on Installing OEL 6.5
LikeLike